This is the wallpaper site, pre-installation.  As you can see, the walls will require some light resurfacing/patching and priming before we can begin with our installation. We typically do the preparation the morning of the installation, and hang th

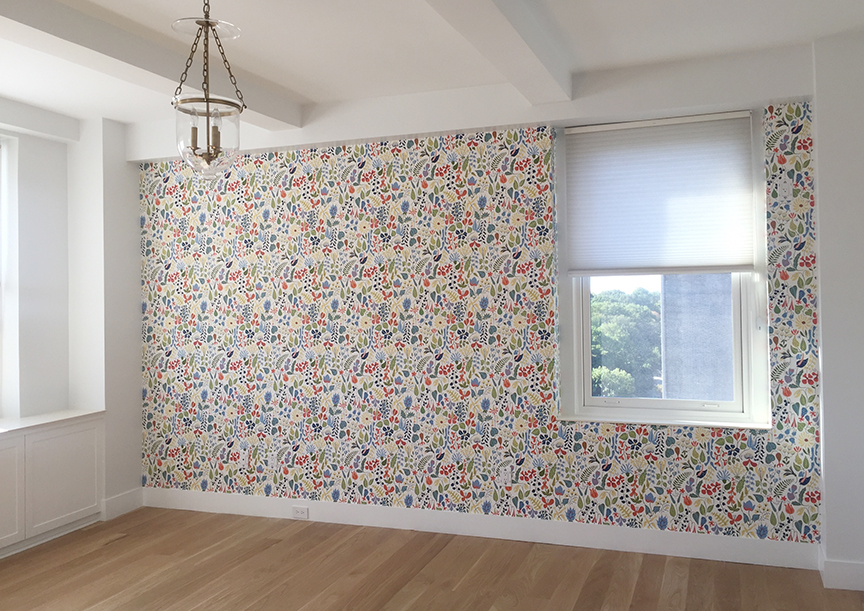
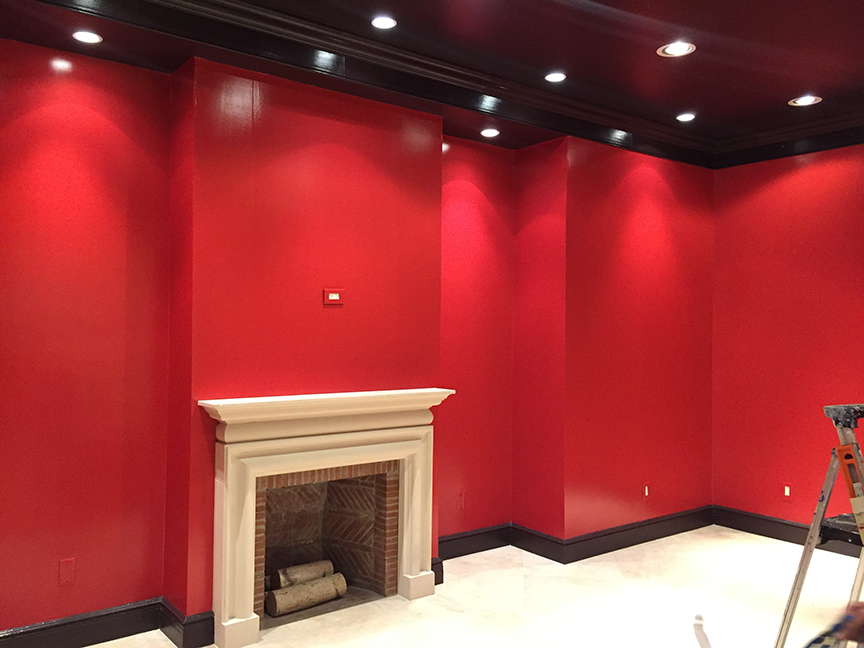
This is the wallpaper site, pre-installation.

As you can see, the walls will require some light resurfacing/patching and priming before we can begin with our installation. We typically do the preparation the morning of the installation, and hang the paper in the afternoon to allow for proper adhesion.

 This particular wallpaper required a liner layer. The liner paper assures a smooth, velvety surface and maximum adhesion of the final wallpaper.

This particular wallpaper required a liner layer. The liner paper assures a smooth, velvety surface and maximum adhesion of the final wallpaper.

Hanging the wallpaper

Hanging the wallpaper

wallpaper2.jpg

Wallpaper Installation

finishedwallpaper.jpg

Wallpaper Installation

wallpaper1.jpg

Wallpaper Installation

detail1.jpg

Wallpaper Installation

IMG-7518.jpg
IMG-7526.jpg
IMG_6417.jpg
IMG_6423.jpg
IMG_6115.jpg
IMG_6121.jpg
IMG-8668.jpg
IMG-9210.jpg
IMG-9225.jpg
IMG-8677.jpg
IMG-6258.jpg
IMG-6260.jpg
olsen_wallpaper.jpg
wallpaper_goldlinesfull.jpg
wallpaper_detail_goldlines.jpg
wallpaper_brunchwigfills_roominstall_blue.jpg
wallpaper_brunchwigfills_detail.jpg
IMG-0700.jpg
IMG_6661.jpg
IMG_6663.jpg
wallpaper_dnd.jpg
dnd_detail.jpg
IMG-0636.jpg
IMG-0629.jpg
IMG-7243.jpg
IMG-0530.jpg
IMG-1018.jpg
IMG-1007.jpg
IMG-7245.jpg
IMG-1026.jpg
IMG-6264.jpg
paris_wallpaper.jpg
paris-wallpaper-detail.jpg
wavewallpaper.jpg
flamingowallpaper.jpg
wallpaper_rough.jpg
IMG-8304.jpg
IMG-8312.jpg
image2(1).jpg
IMG_5714.jpg
IMG_6335.jpg
IMG_6336.jpg
IMG_6447.jpg
IMG_6450.jpg
IMG_8701.jpg
IMG_8703.jpg
IMG-8295.jpg
IMG-8300.jpg
IMG-8678.jpg
IMG-1919.jpg
IMG-9775.jpg
IMG-9776.jpg